
Published: January 11th, 2018 Last Modified: July 24th, 2018
Recently I had need to take macro scale pictures of plant leaves that had been infected with a virus that carries the eGFP coding sequence. Fluorescence microscopes would be the way to go, but you can only raise the lenses so far, and you’d need to remove any magnification to get a macro view. Generally, screwing around with a scope like that will make your local microscope tech pretty irate. What about a GFP illuminator that you can fit a whole plant into? These exist, but like any piece of super niche lab gear, it ain’t cheap.
How about a DIY option? Well, I’m definitely not the first to explore this area. Ian Chin-Sang and Weiwei Zhong, a couple of fellow canuks, did a write up about using LEDs and stage lighting filters to look at fluorescent proteins. Beauty, and for less than 100$ bucks! Sounds great right??? Well, once again, working with plants threw in some nice challenges!
This post will explore the implementation of their idea with a eGFP/plant/macro view use case.
(Update: Higher quality version)
So, let’s define what we want our eGFP viewer to do. First, we need to excite our fluorescent protein at the right wavelength, then view the emitted light of a specific wavelength at the exclusion of other light. For eGFP, the excitation peak is at 489 nm while the emission is 509 nm. Ideally, the light source would be a precise laser at 489 nm, but that’s neither quick nor dirty. I ended up choosing the LED mentioned in the write up, the Royal Blue Cree LED, with the following light output:

As far as off the shelf light sources go, this light source didn’t seem ideal at first (~450 nm peak), but as I was following the guide for the first time I figured let’s not change too many variables yet. It would be interesting to experiment with the Cree “Blue” LED, with a 20 nm higher peak wavelength in the future. To drive the LED, I bought the same LED driver as used in the article.
Okay, we have a reasonable light source that will excite the eGFP. How about filters? We need to filter out anything lower or higher than about 510 nm. In the optics world this would be known as a bandpass filter. Fluorescence scopes accomplish this by using fancy filter cubes like this one using a series of filters arranged together. In that cube, one filter only lets through 457 – 487 nm, which excites the eGFP. The second filter lets through 502 – 538 nm, which is the light we want to go back in our eyes. Then there is a dichroic filter, which reflects the excitation light so it doesn’t go into your eyes, but lets anything higher than 495 nm through. A nice all in one unit, but at 1000$ new it doesn’t fit the spirit of the build.
How did the authors manage? Well, they borrowed a trick from the drama geeks and used stage lighting filters. They come in a variety of colors and what’s great is that the manufacturers have actually tested the spectral properties of every type of film! For GFP, the authors originally recommended Calcolor 90 Blue (I went with #74 Night Blue) for the excitation filter and #12 Straw for the emission filter. Let’s see how that makes our plants look. All pictures were taken with a Google Pixel back camera. These days smart phone cameras have extremely nice quality, usually better than any standalone camera you can buy for 200$, so don’t be afraid to use them in your science!
With no filter, just Royal Blue LED + #74 Night Blue filter over LED:

With #12 Straw filter:

Suddenly, the plant looks red, no GFP, experiment failed, everyone go home! Can anybody guess why this setup doesn’t work for plants, but worked for the worms used in the original write up? Yes, you, the keener with their hand up!
Chlorophyll in plants actually emits red light when exited by blue light! Neat! Annoying, but neat! So even if we have GFP expression, it’s being swamped out by the red light. Now what the heck do we do?
Luckily, I had also ordered a Roscolux film sampler, for about 2 bucks. This ended up saving me. Basically, its like a paint swatch but with colored film.


I would’ve gone into the arts if I knew I could name colors pale bastard amber.
Now, how to filter out that unwanted red light?

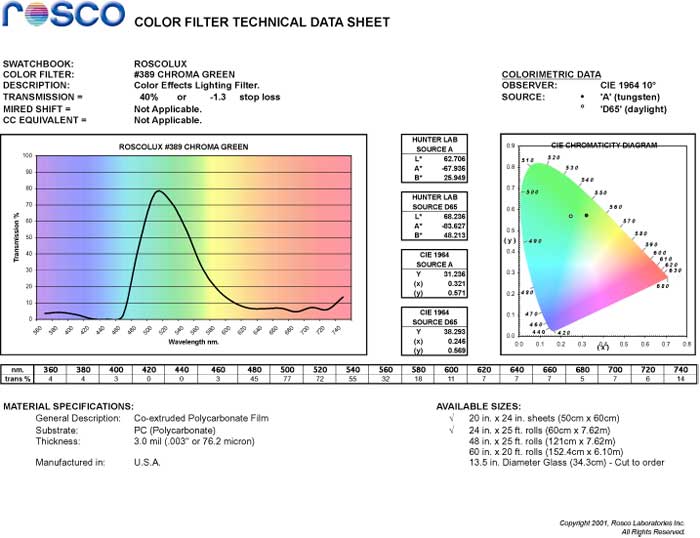
Looks like Chroma green will do the business. What does a #12 Straw and Chroma green filter look like together?

Okay, better, but there’s still some red coming through, and the 450 nm LED is also contributing to the background. Can you notice a bit of GFP coming through though? Encouraging! How do we improve on this? Stack those filters together! Here’s a little filter of 4 layers of chroma green and 4 x straw, making up our DIY bandpass filter:

And how does it make the plants look?


There we go, how about that! A quick and dirty way to look at GFP plants! Now, it’s certainly not perfect, but very usable. There’s definitely a hit in terms of brightness, 8 layers of film certainly cuts down on avalible light. Also, it makes focusing my camera tough.
For something to compare against, I actually had an old bandpass filter I bought for a previous project a long time ago. Maybe 50 bucks off ebay.

Royal Blue LED with #74 Night Blue filter taped over it, fancy bandpass filter held up to camera:


Uhhh….okay, wow, that’s bloody awesome. As we can see the professional bandpass filter kicks the pants off the DIY film. However, consider that a new GFP bandpass filter is 250$, and a used one is between 50-100$ (If there are any for sale). For 20$ you could get enough Straw #12, Chroma green and #74 Night Blue to last a lifetime.
Clearly our DIY bandpass filter has a long way to go before it can compete, but it does show that you don’t need anything fancy to look at GFP in plants. I’ll add stuff to this post when I work on this a bit more.
Follow-up post, fancy filters ahoy!!!
Can you please update about shopping details…? (Royal Blue LED with #74 Night Blue filter taped over it, fancy bandpass filter held up to camera)